Category Archives: cooks

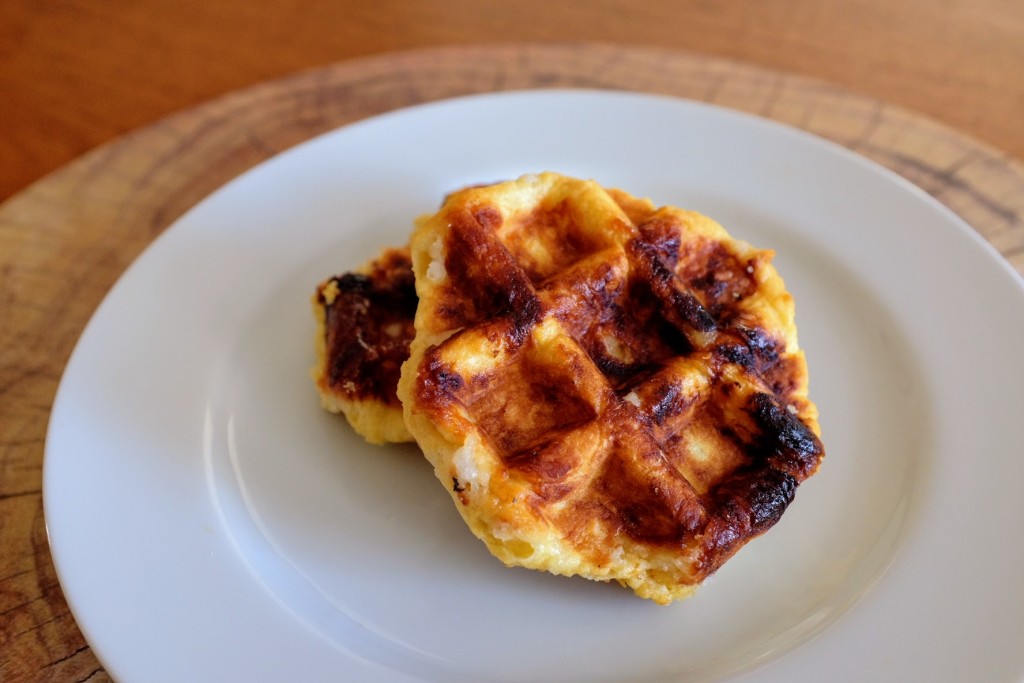
Liège Waffles

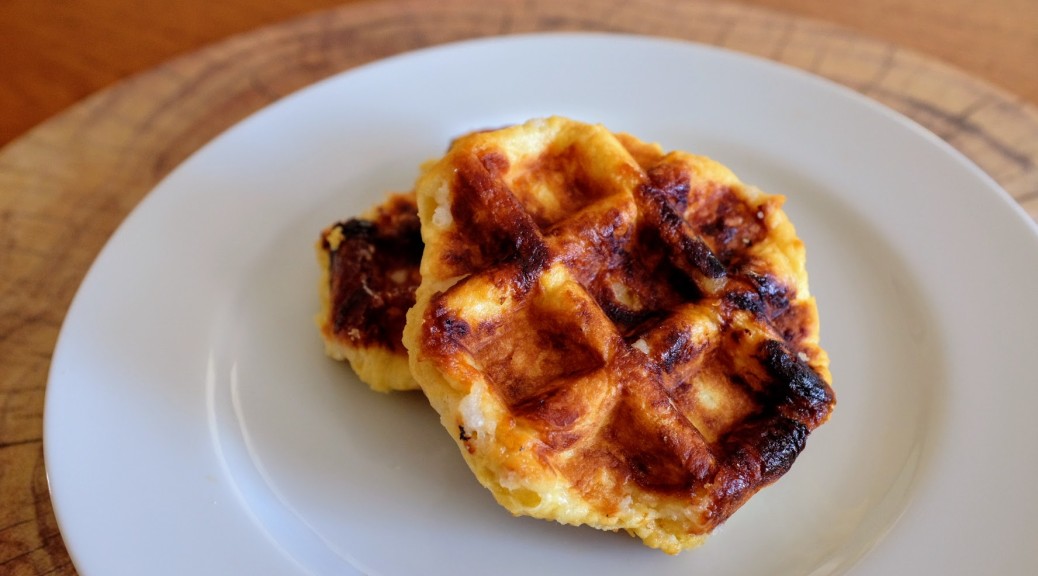
I tried my first Liège-style waffle on a childhood vacation to Quebec. That crispy sugar, that sweet and malty dough – my family talked about it for years, and tried to recreate it at home with mixed results.

The trick is using the correct sugar. Pearl sugar has pea-sized pieces of sugar, hard but not so hard you break your teeth. They melt and caramelize in the recipe, creating sugary pockets throughout the waffle.

Liege Waffle

I usually buy Lars Own Pearl Sugar since it’s widely available and works well. I’ve tried several recipes but my favorite is the recipe on the back of the package with slight adaptations.

My waffle iron of choice is an early 80s hand-me-down from my parents, a “Belgian Waffler by Munsey.” There’s nothing special about this model that makes it perfect for Liege waffles, though maybe its lack of temperature control allows for better caramelization. In any case, I don’t mind mucking it up as I would a fancier waffle iron, and you can get one for around $20 on eBay.


Recipe: Liège Waffles (Belgian Sugar Waffles)

Summary: Adapted from the Lars Own recipe

Ingredients

  • 3½ cups flour
  • 1 tbsp active dry yeast
  • ¾ cup milk
  • 2 sticks butter, softened
  • 2 eggs
  • ½ tsp salt
  • 8 oz pearl sugar (1 bag if using Lars Own)

Instructions

  1. Heat the milk in the microwave for about 45 seconds until it is lukewarm (around 110 degrees – don’t overheat it).
  2. Dissolve the yeast in the milk, and let sit for 5 minutes until it gets frothy.
  3. Put the flour in the bowl of a stand mixer with the paddle attachment. You can also mix this dough by hand, but it gets sticky.
  4. Slowly mixing, add the milk/yeast, then butter, then eggs.
  5. Cover the mixer bowl with a tea towel or paper towel, and let the dough rise for 30 minutes to an hour, until doubled in size.
  6. Mix in the pearl sugar – you can use the mixer, but it’s also easy to do by hand because the dough won’t be as sticky.
  7. Form around 20 to 24 small balls of dough (they can be rough) and put them on a baking sheet to rest. I usually let them rise for another half hour, but you can skip this if you’re in a hurry.
  8. Cook the dough in a Belgian (large-holed) waffle maker for about four minutes, depending on your iron. The waffles will be crispy and lightly browned, with the sugar slightly caramelized.
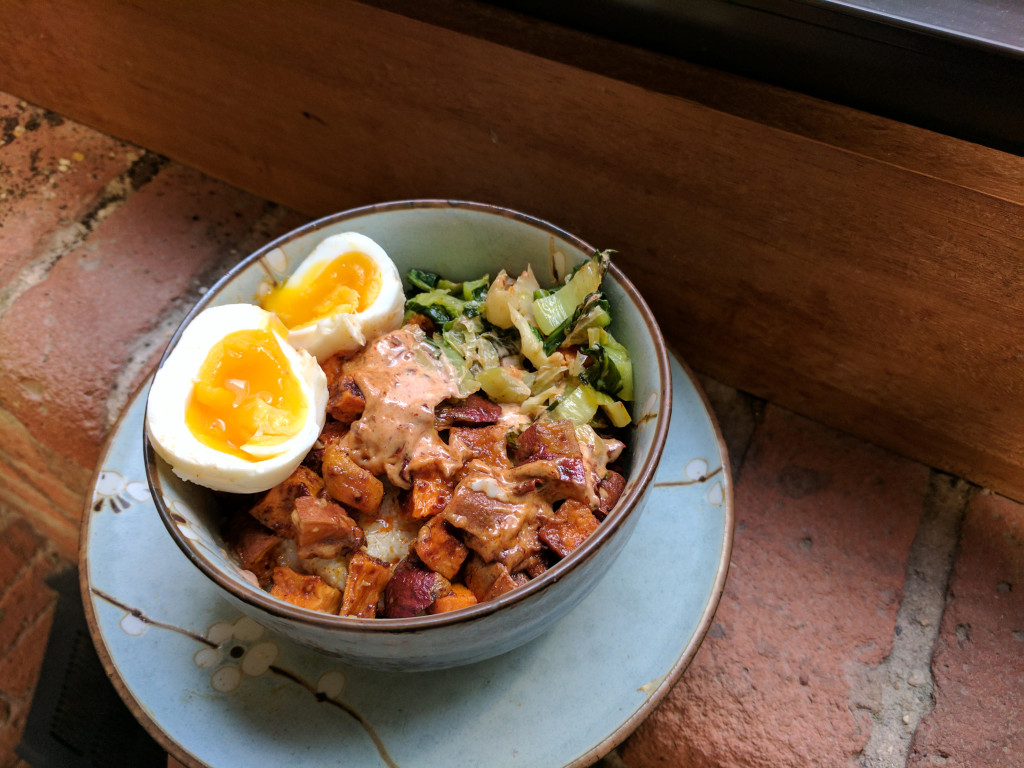
Spicy Grit Bowl with Sweet Potatoes and Greens

Last night, I made a grit bowl for dinner with a poached egg. It was great, and so were the leftovers, which I took to work with an easily transported soft-boiled egg.

Spicy Grit Bowl


Recipe: Spicy Grit Bowl with Sweet Potatoes and Greens

Summary: A filling, nutritious vegetarian meal that’s full of flavor. This recipe will make approximately six servings but is easily adjusted.

Ingredients

  • 4 sweet potatoes
  • 2 tablespoons olive oil
  • 2 tsp chili powder
  • 1 large head bok choy (or other greens)
  • 3 cloves garlic
  • 2 tablespoons adobo sauce and 1 to 2 chilis (from the can)
  • 1/2 cup mayonnaise
  • 1.5 cups quick grits
  • 6 cups water (or amount directed on package of grits)
  • 1/2 tsp salt
  • 1/2 cup grated cheese (optional)
  • 6 eggs

Instructions

  1. Preheat the oven to 375.
  2. Wash the sweet potatoes and cut into 1/2 inch cubes.
  3. Toss cubed potatoes with 1 tablespoon oil and chili powder, and roast on a rimmed baking sheet for 30 minutes. While the potatoes are roasting, continue the with the rest of the preparation.
  4. Press the garlic cloves using a garlic press, or chop them finely.
  5. Wash and cut the bok choy into thin slices, keeping the green leaves separate from the stems on your cutting board.
  6. In a skillet, heat the remaining tablespoon olive oil over medium-high heat and sauté the garlic until it is lightly browned, about 1 minute.
  7. Add the bok choy stems to the skillet, occasionally stirring until they are translucent, about 5 minutes. Then, add the leaves and continue stirring until they are wilted, about 5 more minutes. Set aside.
  8. Chop the adobo peppers finely. Stir the adobo sauce and chopped peppers into the mayo to taste.
  9. Cook the grits according to package instructions. In my case, I boiled 6 cups of water with 1/2 tsp salt and slowly added the grits, stirring. Then I reduced the heat, covered the pot, and cooked for 5 minutes.
  10. If using cheese, stir into the cooked grits. Season to taste.
  11. Poach or soft boil the eggs.
  12. To assemble, spoon a portion of grits into each bowl or lunch container. Top half of the grits with sweet potatoes and half with greens. Place the egg in the middle (you may want to clear an area for it first). Top the egg with a tablespoon of spicy mayo.

Preparation time: 40 minute(s)

Number of servings (yield): 6


Smoothie Moves

After trying a delicious (but expensive) smoothie at the gym a few months ago, I was inspired to start making them at home. Now they’re part of my breakfast routine at least twice a week.

My basic recipe below will make two servings, or about four cups. If you have large 2-cup mason jars, it’s easy to take these on the go.

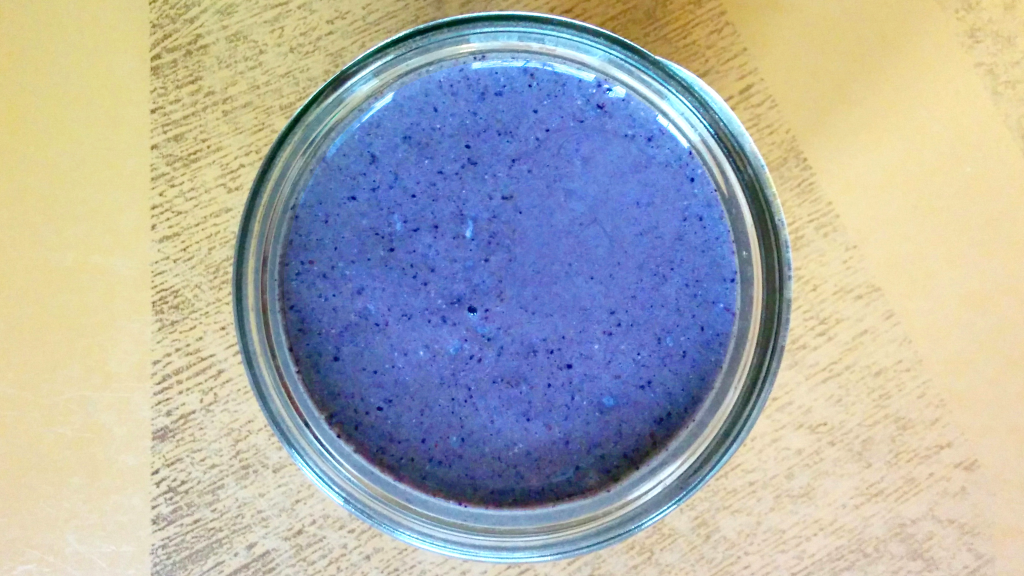
blueberrysmoothie
Wild Blueberry Chocolate Smoothie

Here’s my typical smoothie base:

  • 1 banana
  • 2 cups of almond milk
  • 2 tablespoons of chia seeds (I soak them in the almond milk overnight)
  • a handful of greens or about 1/2 cup of frozen spinach
  • 1/4 cup of Bob’s Red Mill whey protein – you can omit this, but I love the frothiness and body it provides

Then, I give it some flavor with at least 1 cup of fruit, usually one or more of the following.

  • frozen (strawberries or blueberries are great, other berries have too many seeds for my taste)
  • fresh (papaya or pineapple are nice)
  • frozen fruit pulps (such as the Goya branded ones found in the international freezer section of my grocery store – I’ve tried these in tamarind, passion fruit, and blackberry)

Sometimes, I add a couple of tablespoons of cocoa powder (great with blueberries!). I’m low on fruit, or just in the mood, I sometimes make a peanut butter chocolate smoothie with cocoa powder and peanut powder.

The blueberry chocolate smoothie pictured above had the base ingredients with a cup of frozen wild blueberries and 2 tablespoons of raw cocoa powder. My wildest smoothie so far has been carrot cake, with shredded carrot, golden raisins, flax seeds, cinnamon, and a spoonful of sour cream for flavor.

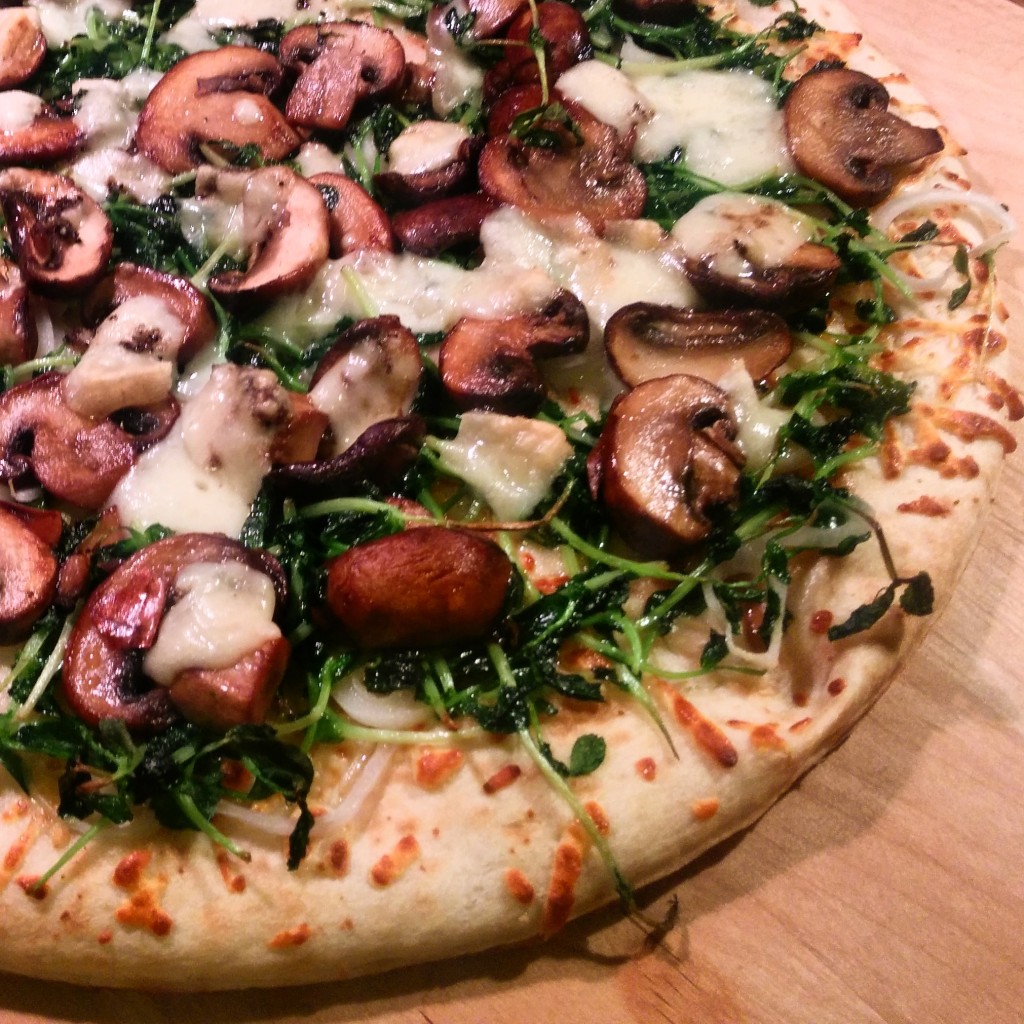
Truffled Mushroom Pizza

We’d just returned from a weekend out of town and Thursday’s vegetable share was waiting in the fridge. Two of this week’s items were cremini mushrooms from RI Mushroom Co. and pea greens from Allen Farms. We also had a stray shallot and some salty truffled cheese from Tony’s Colonial on Atwells.

Since I was short on time, I picked up a premade pizza crust from the supermarket. What a scam! It was almost $5 and I’d rather be eating the crust I usually make from this recipe, which costs less than 50 cents a pizza. Still, it was a delicious and fast dinner.

Truffled Mushroom Pizza

Recipe: Truffled Mushroom Pizza

Ingredients

  • 1 tbsp olive oil
  • 1 small shallot
  • 8 oz. cremini mushrooms, sliced
  • 2 large handfuls pea greens
  • 2 tbsp butter
  • 3 oz truffled cheese
  • 1 premade pizza crust, or your own dough
  • sea salt
  • freshly ground pepper

Instructions

  1. Preheat oven to 450.
  2. Put dough on a cookie sheet and brush with olive oil (I transferred mine to a pizza stone, whatever you prefer).
  3. Slice shallot thinly, separate into rings, and spread over the crust.
  4. In a large sautée pan, melt 1 tbsp of butter over medium high heat.
  5. Add pea greens and stir until evenly wilted, about 2 minutes.
  6. Spread pea greens over the crust, and top with a grind of salt.
  7. Wipe out the pan and melt the other tbsp of butter.
  8. Add mushrooms and a pinch of salt.
  9. Stir the mushrooms frequently until they let off and then reabsorb their liquid, about 6-8 minutes.
  10. Spread the mushrooms over the crust.
  11. Crumble the truffle cheese over the pizza, and top with a final grind of salt and pepper.
  12. Bake in the preheated oven 8-10 minutes.

Cooking time: 20 minute(s)

Number of servings (yield): 4

My Comfort Meal: Creamed Spinach

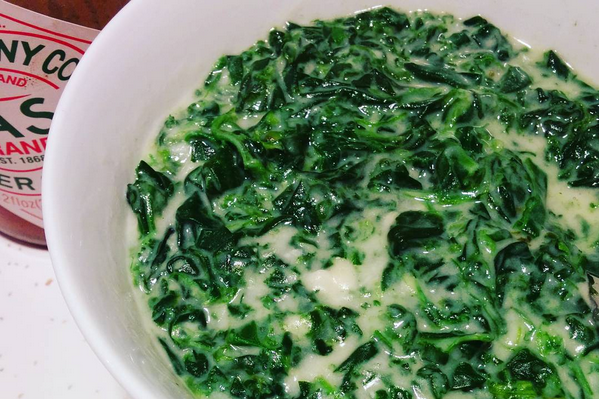
When I was single and just barely making the rent, I’d often find creative ways to make a satisfying meal out of frozen vegetables. One of my favorite comfort meals is still a big, slightly spicy bowl of creamed spinach. Here’s how I make it.

Creamed Spinach

Recipe: Really Easy Creamed Spinach

Ingredients

  • 1 10-ounce package of frozen spinach (I prefer whole-leaf, but chopped works too)
  • chopped garlic or onions (optional, and perfectly satisfying without)
  • 2 tbs butter
  • 2 tbs flour
  • 1 c milk
  • Salt
  • Tabasco

Instructions

  1. Defrost the frozen spinach in a pot over medium heat. If you bought the type that’s frozen in a block, it’s especially necessary to heat it for a while, flipping once or twice. But if you have the kind in a bag, it should be really quick.
  2. Meanwhile, in another pot, melt the butter over medium heat. (If you’re adding chopped onions and/or garlic, you can add them to the melted butter).
  3. Sprinkle the flour over the butter and whisk until combined. It’ll be lumpy.
  4. Still whisking, gradually add the milk. As it heats, it’ll combine to form a smooth, thick paste (a.k.a. a roux).
  5. Add spinach to the the milk mixture and stir to combine. If it wasn’t totally defrosted yet, just keep stirring and heating for a minute or two.
  6. Add Tabasco and salt to taste. A grate of nutmeg is also nice.
  7. Eat it by yourself, out of a bowl, without apologies.

Spelt and Kale Lunch Salad

If you aim bring lunch to work every day, I’m sure you’ve had one of these nights: it’s past your bedtime, you have absolutely nothing lunch-worthy in the fridge, and you want an easy option to pack the next morning.

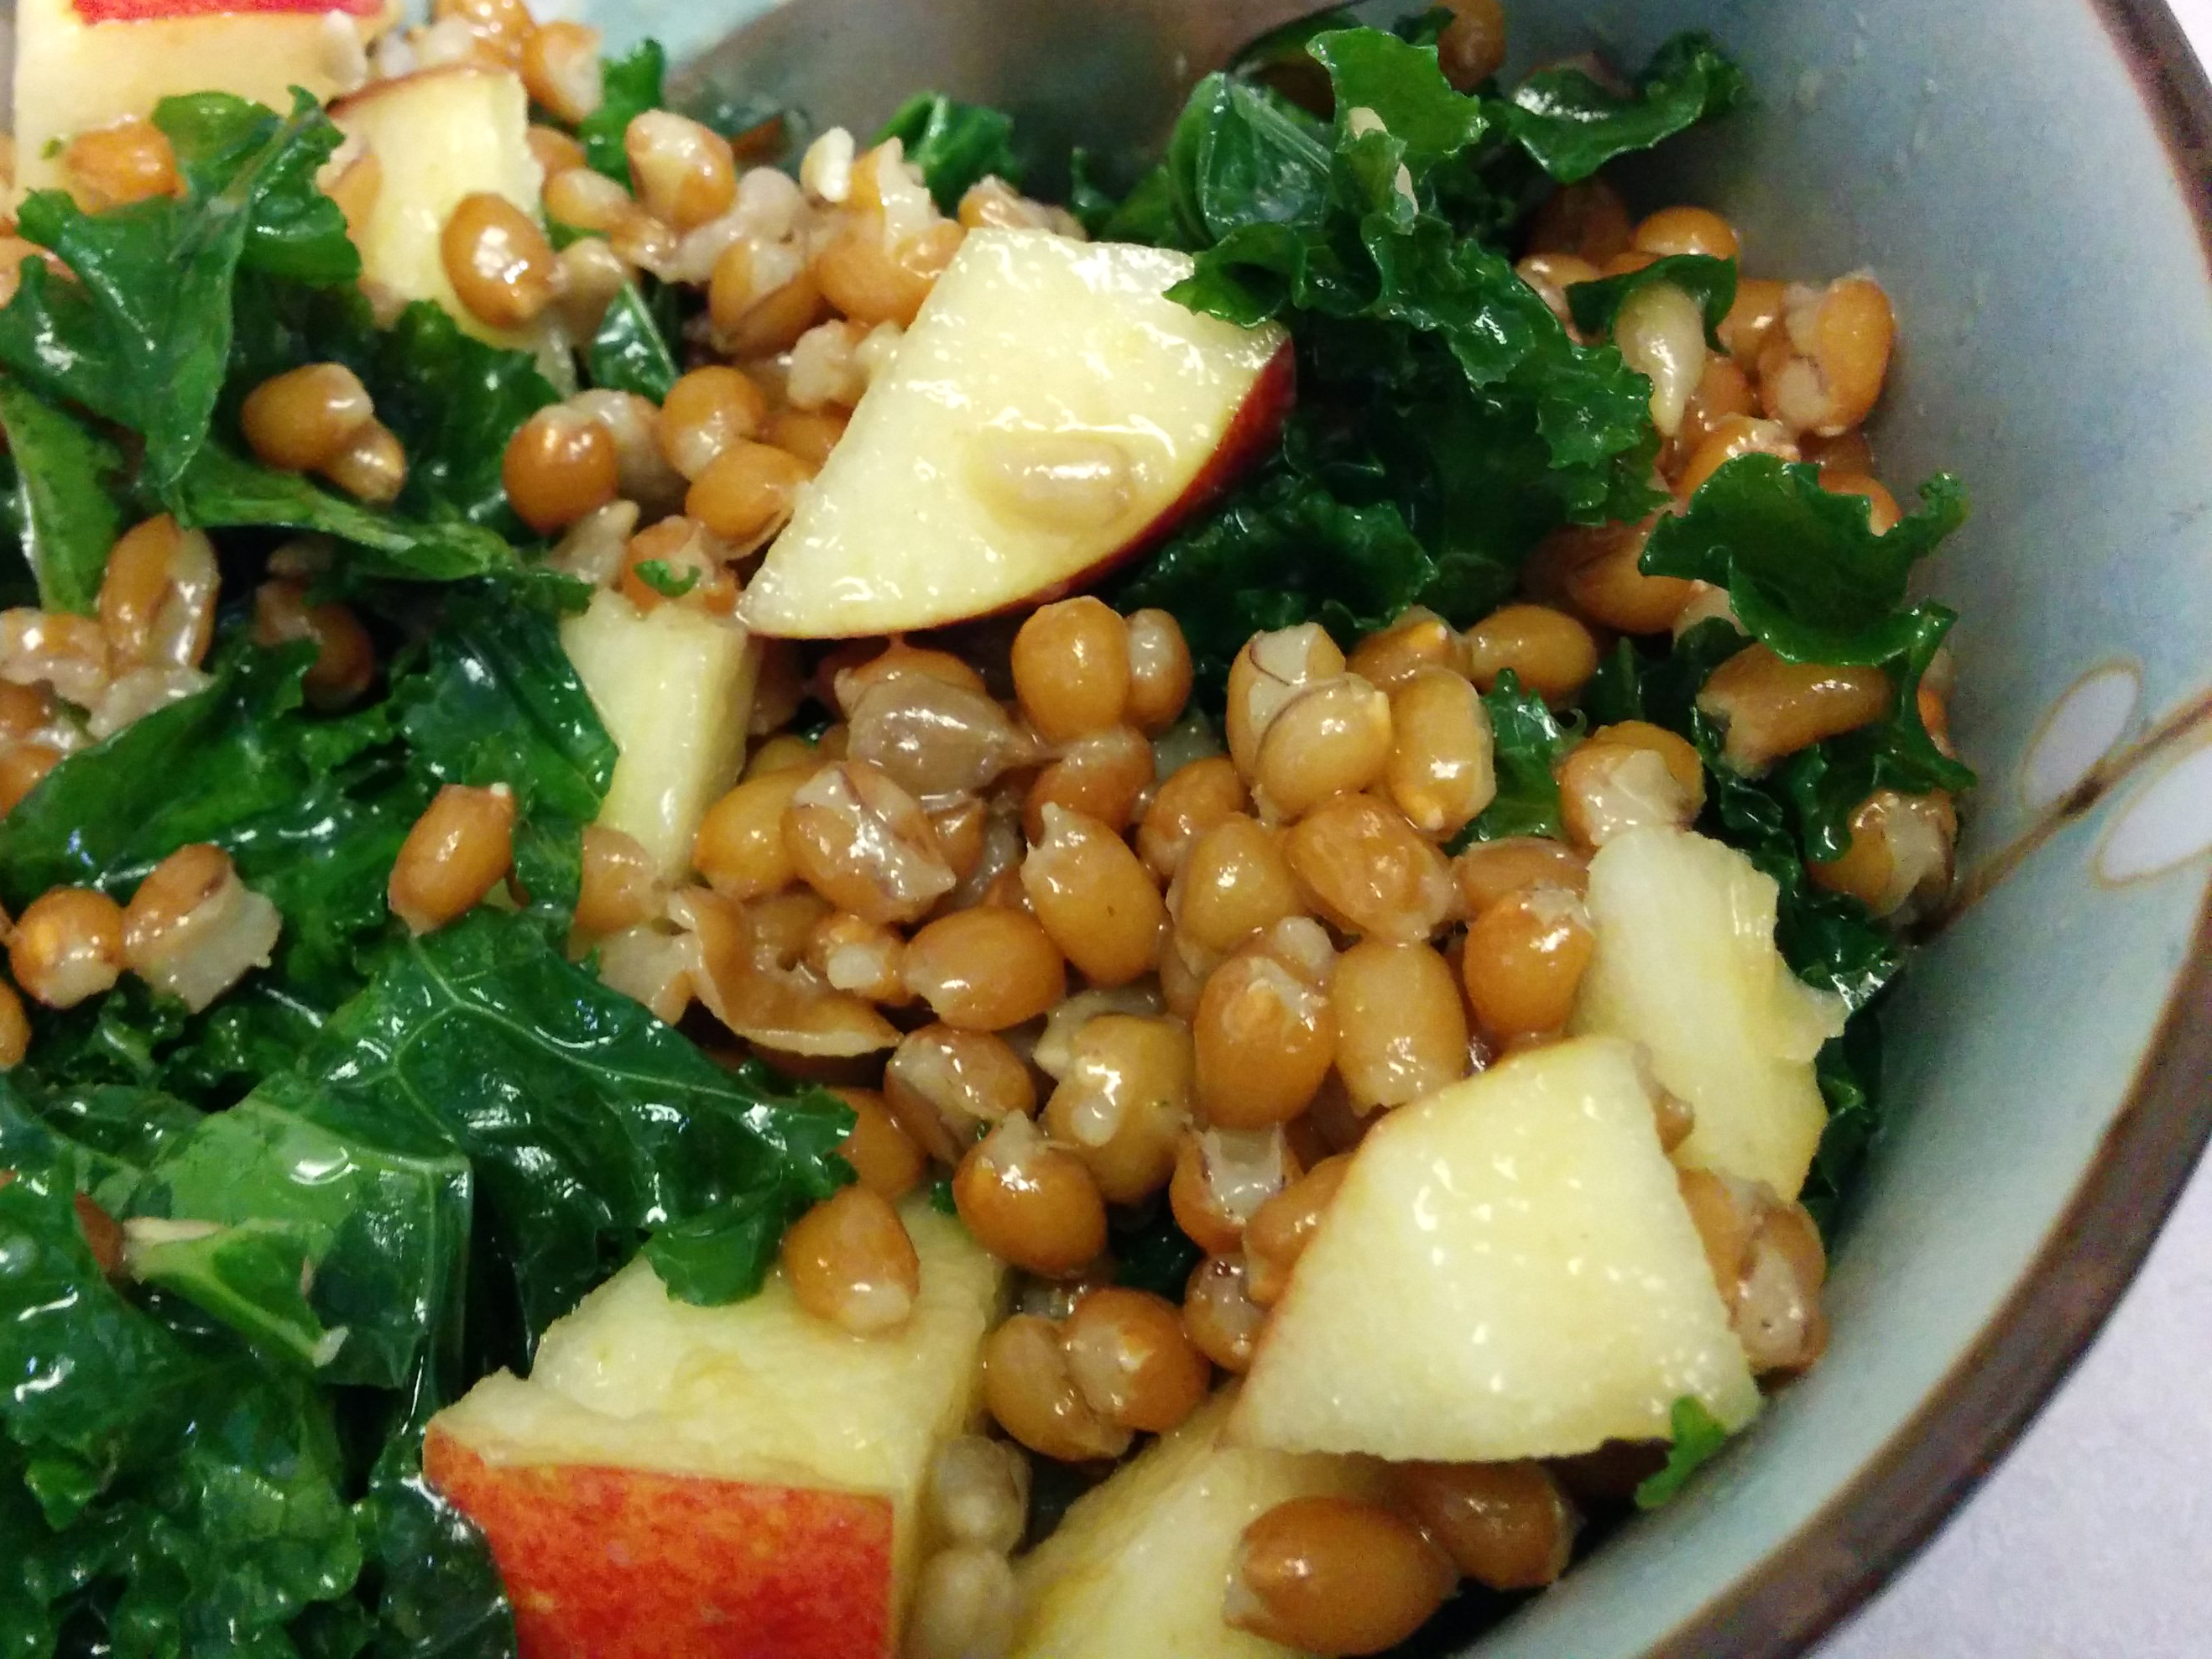
For this salad, I cooked spelt overnight in the slow cooker. I worried it would get too soggy (most slow cooker recipes were written for a breakfast porridge), but it emerged intact and springy. The rest of the recipe was easy to assemble in the morning.

speltsalad

Recipe: Spelt and Kale Lunch Salad

Ingredients

  • 1 cup uncooked spelt (I used Bob’s Red Mill)
  • 2 cups water
  • pinch of salt
  • 2 tbsp vinegar
  • 2 tsp honey (or more to taste)
  • 2 tbsp dijon mustard
  • 1/3 c olive oil
  • 1 large apple
  • 1 bunch curly kale
  • 1/2 cup sunflower seeds

Instructions

  1. To slow-cook spelt: place spelt, water, and salt in a slow cooker. Cook overnight on low, about 6-8 hours. (Alternately, cook spelt according to the package directions.)
  2. Pour off any excess water from your cooked spelt.
  3. Make the vinaigrette: in a large bowl, whisk the vinegar, honey, and mustard until combined. Taste for sweetness and add additional honey if needed. Slowly add olive oil while continuing to whisk.
  4. Chop the kale: I like to roll it into a thin, long bundle and cut into 1/2 inch strands.
  5. Add the kale to the vinaigrette. If you’re not squeamish, massaging the dressing into the raw kale by hand will considerably soften your salad and make it easier to eat.
  6. Core and chop the apple.
  7. Add the apple, sunflower seeds, and spelt to the salad and mix thoroughly.

Mexican Cocoa Nib Cookies

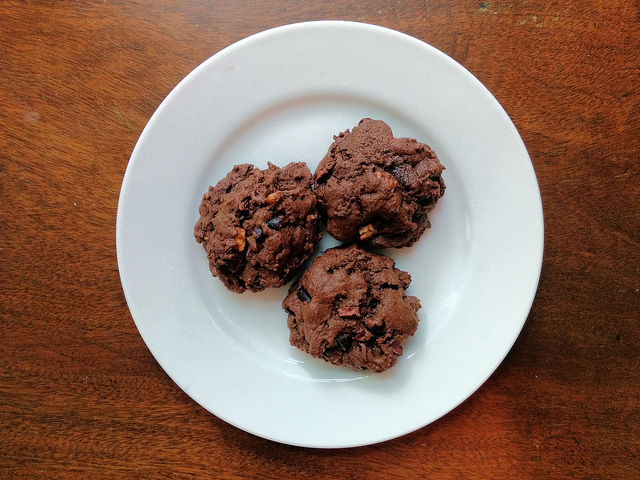
We made the excellent decision of ordering five pounds of bulk cocoa nibs from Urban Greens. I’m going to a friend’s birthday cookout today, and since he’s a creative cook, I thought some cocoa nib cookies were in order.

Too bad the recipes I found were a bit boring. Most mixed cocoa nibs with chocolate chips, which is like putting a precious stone in a piece of costume jewelry. Some were ultra healthy paleo “cookies”. I wanted something decadent and creative, so I adapted a basic double-chocolate cookie recipe with thousands of positive reviews into this more unusual combination.

Mexican Cocoa Nib Cookies | StephanieDoes

Recipe: Mexican Cocoa Nib Cookies

Summary: Double chocolate spiced cookies with cocoa nibs and pecans. Makes about 20 cookies.

Ingredients

  • 1 stick butter, softened
  • 3/4 cups white sugar
  • 1 egg
  • 2 teaspoons vanilla extract
  • 1 cup all-purpose flour
  • 1/3 cup cocoa powder
  • 1/4 + 1/8 teaspoon baking soda
  • 1/4 teaspoon salt
  • 1/4 teaspoon cinnamon
  • 1/8 teaspoon nutmeg
  • 2 pinches cayenne powder (or more to taste)
  • 1/2 cup cocoa nibs
  • 1/2 cup finely chopped pecans

Instructions

  1. Preheat oven to 350 degrees.
  2. Combine the flour, cocoa, baking soda, salt, and spices (cinnamon, nutmeg, and cayenne) in a bowl and whisk to combine.
  3. In a stand mixer, beat the softened butter, sugar, egg, and vanilla until fluffy.
  4. While mixing on low, slowly add the flour mixture until just combined (do not overmix).
  5. Stir in the cocoa nibs and pecans until evenly mixed.
  6. Drop onto the cookie sheet in mounds the size of a ping-pong ball. No need to make smooth balls.
  7. Bake for 10 minutes or until the cookie is baked on the outside but still soft. Transfer to a wire rack to cool.

Preparation time: 6 minute(s)

Cooking time: 10 minute(s)

Homemade Spam Musubi

Over 5 years after our honeymoon in Hawaii, I’m recreating one of my favorite discoveries of the trip: Spam Musubi.

We picked some up in a convenience store near the volcanoes and it was an unexpectedly good breakfast. It was also the first time I’d ever eaten Spam. Though we had plenty of fresh fruit, raw fish, and other delights, this portable snack stuck in my mind.

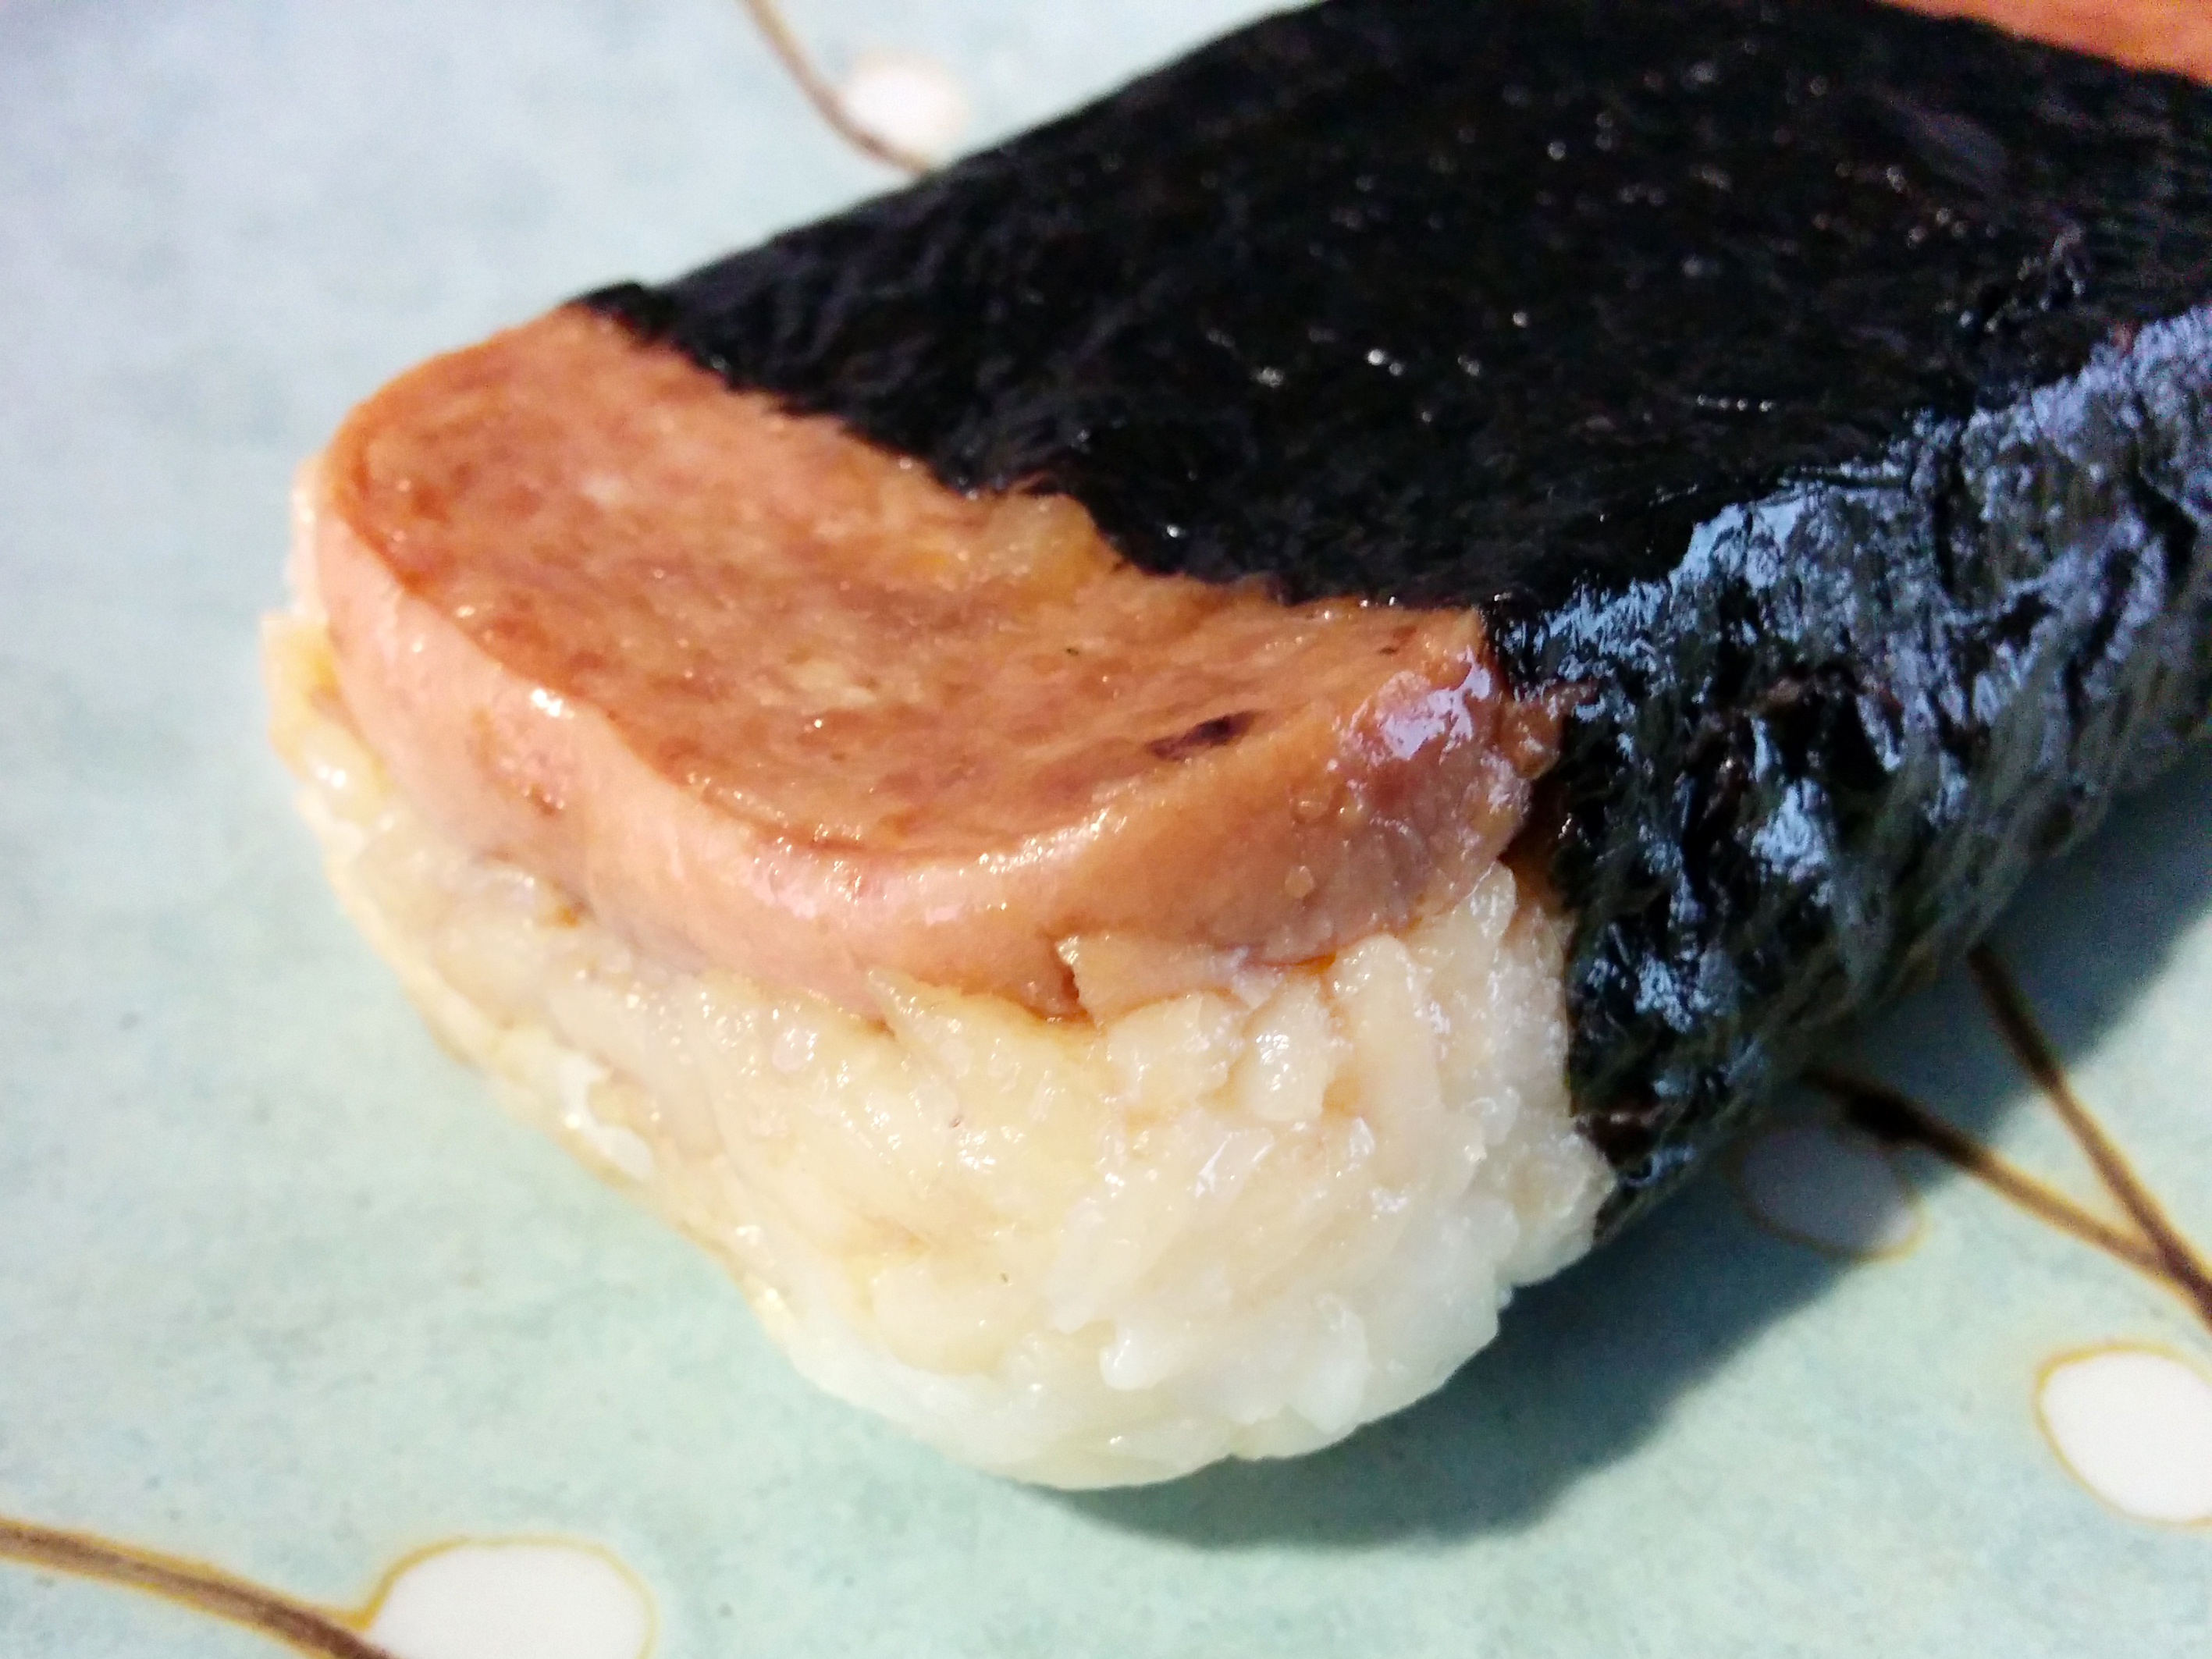
When individually wrapped in cling wrap, these are perfect on-the-go snacks or work lunches. The one in the photo below might be a bit worse for the wear after a trip to work in my bag, but tasted great and held together well.

musubi


Spam Musubi

Makes 10. Adapted from several recipes.

Sushi Rice
  • 2 cups uncooked sushi rice
  • 3 cups water
  • 1/2 cup rice vinegar
  • 1 tablespoon vegetable oil
  • 1 teaspoon salt
  • 2 tablespoons white sugar
Rinse the rice in a strainer or colander. Combine with water in a medium saucepan. Bring to a boil, reduce the heat to low, cover and cook for 20 minutes or until rice is tender and water absorbed.
In a small saucepan, combine the rice vinegar, oil, sugar and salt and stir until the sugar and salt are dissolved. Stir into the cooked rice and continue stirring for a minute or two until the rice is glossy.
Musubi
  • Rice (from recipe above), cooled halfway to room temperature
  • 3 tablespoons soy sauce
  • 3 tablespoons hoisin sauce
  • 3 tablespoons sugar
  • 12 ounce container Spam
  • 3 to 5 sheets sushi nori (dry seaweed), depending on desired width of wrapping strip
  • 2 tablespoons vegetable oil
  1. Slice Spam lengthwise into 10 slices. This sounds difficult, but just cut in half first, then cut each half into 5. It’s easy to cut.
  2. Stir together soy sauce, oyster sauce, and sugar until sugar is completely dissolved.
  3. Brush sauce on both sides of Spam slices and let sit for at least five minutes.
  4. While it’s marinating, saw out the bottom of the Spam can with a box cutter and fold over the edges so they’re not as sharp. Or, if you’re civilized (I’m not), you might own a musubi press.
  5. Heat oil at medium high in a large cast iron skillet. Cook slices until lightly browned; no need to wipe them off, just make sure they don’t burn.
  6. If you’d like, you can brush Spam with any leftover marinade after browning.
  7. Cut seaweed sheets in half (for complete coverage) or thirds (for a narrower strip).
  8. Put a strip of seaweed on your work surface, then the spam can on top, with an opening on the bottom.
  9. Press a handful of rice into the bottom of the Spam can from the top, then top with a slice of Spam,  and press down on the spam. Gently remove the Spam can and wrap one side of the  seaweed strip around the rice and spam.
  10. Dip your hand in a bit of water and wet the remaining length of the seaweed strip, then complete the wrap. The water helps the seaweed stick to itself.
  11. Wrap individually pieces in cling wrap if you’re not going to eat them right away.

Mardi Gras Dinner Party

For the past few years, I’ve looked at the calendar the night before Mardi Gras and swore that the next year, I would remember to invite people over for a dinner party. This year we finally did.

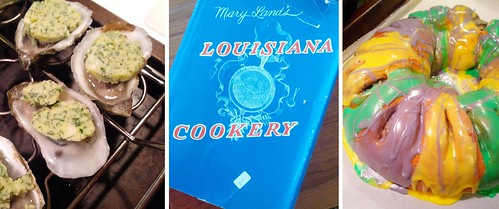
Mardi Gras Dinner

Our menu:

Muffaletta Spread  *  Fried Peanuts  *  Pickled Okra
Raw Oysters  *  Grilled Oysters
Jambalaya (with andouille, chicken, and shrimp)
Bananas Foster  *  King Cake

(Who doesn’t want two desserts?)

This was a low-stress meal. The jambalaya comes together in under and hour and requires no fussing or fancy plating; I did the chopping ahead of time and started cooking while we drank cocktails and ate snacks. Our guests brought a ton of oysters and a pitcher of hurricanes.

Recipes:

See-in-the-Dark Mac and Cheese

My refrigerator’s produce drawers have been heavy with winter vegetables from our produce share.  Marveling at the beautiful orange of my beets and carrots, I did what few childless cooks do – sneakily hid vegetables in mac and cheese!  I would go so far as to say they were completely undetectable.

I like to bake my Mac and Cheese, but this is also good served out of the pot.

Recipe: See-in-the-Dark Mac and Cheese

Summary: Staunch Velveeta fans will have no idea how many vitamins they’re consuming in this tricky, bright orange Mac and Cheese.

Ingredients

  • 3 carrots, peeled
  • 1 large golden beet, roasted and peeled
  • 16 oz elbow macaroni
  • 6 tbsp butter
  • 6 tbsp flour
  • 2 cups milk
  • 2 cups shredded cheese
  • 1/2 cup breadcrumbs
  • salt and seasonings

Instructions

  1. Preheat the oven to 400, start heating your pasta water, and butter a large souffle dish or rectangular baking pan.
  2. Slice the carrots and barely cover with water in a saucepan. Simmer until quite soft, about 15 minutes.
  3. While the carrots are cooking, start the sauce: melt the butter in a large saucepan, whisk in the flour, and add the milk.
  4. Bring the sauce to a boil while stirring, then lower to a simmer and cook for about 5 minutes, stirring occasionally.
  5. In a food processor, puree the carrot slices and diced beet with enough cooking liquid to make a baby food-like consistency. Make sure it is really, really, smooth, stopping to scrape bits off the side if necessary. (I processed for 3-5 minutes).
  6. Stir the bright orange puree and cheese into the sauce, stirring until the cheese is melted. Season with salt and other seasonings if desired (I used a dash of garlic powder and cayenne). Don’t skimp on the salt.
  7. Cook your pasta according to package directions, drain, and toss with the sauce. Pour into the prepared baking dish, top with breadcrumbs, and bake for 30 minutes.